A few days ago, in an attempt to explain why I haven’t been posting here (or anywhere), I talked a little about the process that ends with printed copies of Electric Velocipede in my hands.
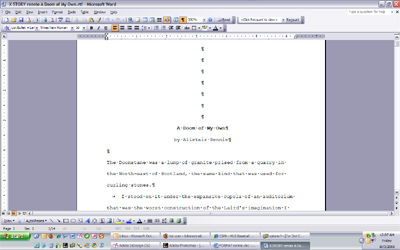
I’m continuing the discussion today by going into detail about how I format a submission and lay it out in my desktop publishing program. The screenshot above shows one of the stories that will be in the next issue of Electric Velocipede, Alistair Rennie’s “A Doom of My Own” in it original format (well, it was less blurry).
I get stories formatted all sorts of ways. Yes. I do have submission guidelines. Most people mostly follow them. Lots of people don’t follow them very well. This is probably a mistake to admit, but I’m not as fussy about the formatting as I should be.
To be clear, if you do follow my formatting guidelines, that gives you a bonus over other submissions, so if I have to choose between the submission who followed the guidelines and the one that didn’t…the one that did will always win out.
I only have one guideline that is required: put your name and contact information on your submission (if sending an attached file) or under the story title (if sending in the body of an e-mail). This leads to automatic rejection. You’d be amazed at how many people fail this.
 Once the story is accepted, I have to prep it for final layout in InDesign, my desktop publishing software of choice. All accepted pieces are renamed with the word ‘STORY’ or ‘POEM’ or ‘NONFICTION’ as the beginning of the file, followed by author name and story title. This gives me a quick visual as to what’s in the issue’s folder just by opening it up.
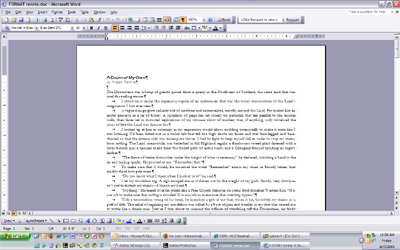
Here’s my process of formatting for the magazine: I change the typeface to match the style and size of what I use in the magazine (I used to ‘clear formatting’ but that removed italics, etc., which is a BAD THING); change the paragraph spacing to single line; I delete all headers and footers; I replace all story breaks (typically a #) with page breaks; I replace all paragraph returns with a paragraph return and a tab; I return all the page breaks to a #; I justify the whole piece; I center all the #; I format the title and byline; I set my dingbat at the end of the story; I save the document as ‘FORMAT author name story title;’ the original gets an ‘X’ placed as the beginning of the file name so it sorts to the end of the folder.
This is a lot of steps, but it easily takes me less than five minutes per story to do this. The image above shows the document formatted in Word, ready to go into InDesign.
Just like before, I can quickly see what all I have formatted and what is not formatted. It’s also easier to find when I’m ‘placing’ (CTRL+D) the pieces into InDesign. If I’ve done this correctly, everything flows perfectly into InDesign and I’m ready to edit.
 One of my weirdisms with this process is that I don’t edit the piece until I get it into InDesign. I edit the entire issue at once. This is kind of unusual, since most editing is done before the piece is typeset (and this was particularly true when pieces were actually typeset…but we moved away from that process a while ago).
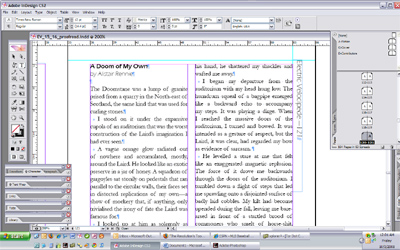
If I haven’t formatted the story perfectly, it’s easy to fix up in InDesign. Sometimes the paragraph spacing is still messed up for one paragraph while the rest are fine. The tabbing never comes in quite right, so I reset it from 0.5″ to one pica. I give everything a -10 kerning just to tighten it up a bit. Then I can export a PDF and edit the issue.
You can see the story in InDesign above. Again, sorry for the blurriness (to be fair, neither my computer nor my work place are all the scintilating), but I think you get the gist of it.
Next time I’m going to talk about the actual editing process, so stay tuned!
[Screenshots taken on my computer; Alistair Rennie‘s work used with his permission.]


