I like books, I like playing with knives and glue, and I need a place to keep my jewelry. If you’re like me, you’re in luck; this is a step-by-step tutorial on making a book-lover’s jewelry box from a few simple materials.
You’ll need
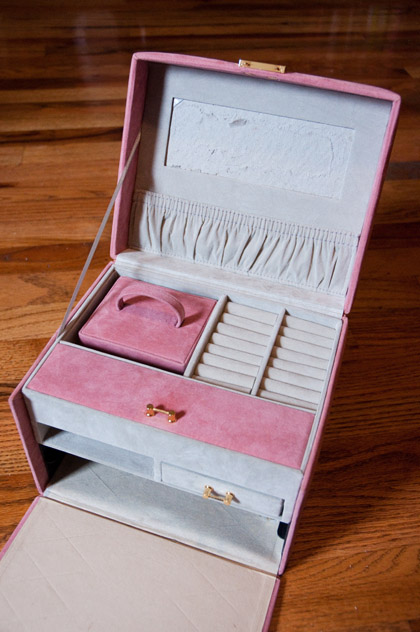
- A jewelry box with drawers you can remove and otherwise mutilate; it can be hard to find drawers shallow enough to fit in a book, but they’re out there. I kept my eyes peeled for a few weeks and found the pink monstrosity at a Salvation Army.
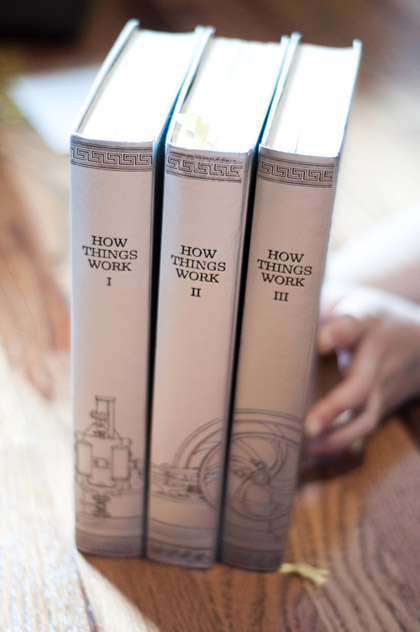
- A cool-looking book that’s big enough to fit your jewelry box elements. I fell in love with these How Things Work books when I saw them in a Goodwill. They’re silver, with machines engraved on the front and the most beautiful endpapers ever:
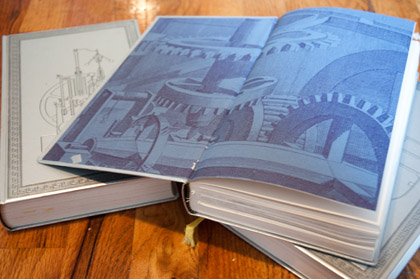 |
| A little steampunk, no? Think of this as a transitional post between Steampunk Month and some do-it-yourself fun we have coming up. ::prophetic cackle:: |
- A utility knife, the kind where you can snap off old sections of the blade when they get dull. You will abuse the crap out of this knife over the course of your project, so I don’t recommend an Exacto knife or anything similarly nice.
- Spray-on craft glue
- A pencil and a ruler; maybe pliers
And now, some how-to:
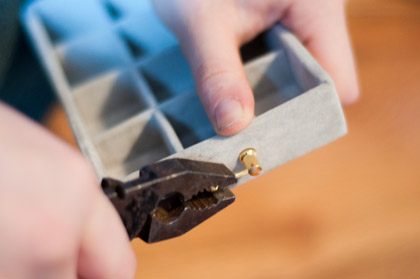
1) Prepare ye the way of the jewelry box elements. Decide which drawers you want to use and deprive them of awkward little handles. If you have one big drawer and that’s all you’re using, move on; if you have a couple of smaller drawers like the one below, decide how you want to place them on the page.
2) Trace all the way around the jewelry drawers. You don’t want them too close to the outer edges of the page, or you’ll be dealing with very thin strips of paper that will break a lot and cause you tsuris. It’s fine to be right up against the spine, though.
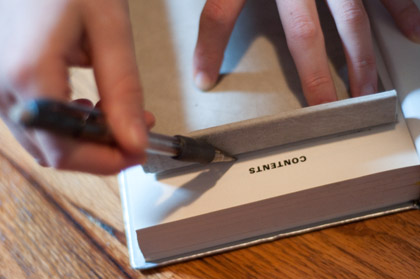
3) Apply ruler to pencil line. Apply knife to ruler edge. I happen to be a quilter and I have this clear plastic ruler that I love, but metal will also do; just don’t use a ruler that’s really susceptible to razor blades, like those balsa-wood rulers that Ace hardware used to hand out. You’ll end up shaving bits off your ruler and your lines will go funny. Unless you’re a surgeon and have really steady hands, in which case, go for it.
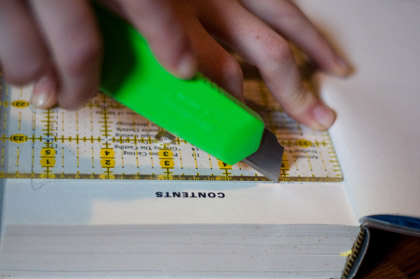
4) Cut square; remove paper from the middle; cut more. Eventually you won’t need the ruler anymore and you can just use the edge of your previous cuts to guide the knife. As you get deeper, extend the blade on the knife; if you have to angle the knife to get around the bulky plastic body and you’re cutting 3-4 sheets at a time, your cut will be angled and the borders are going to creep towards the edges of the page.
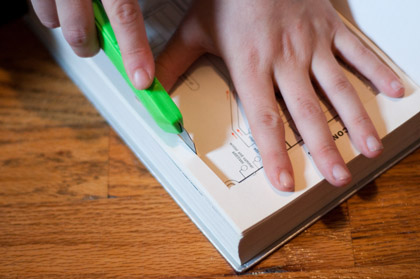
5) Test out your fit. Put the jewelry boxes into the spaces you made for them; you may have to trim the paper here and there. Make sure the well is deep enough to hold the boxes so the book can close flat.
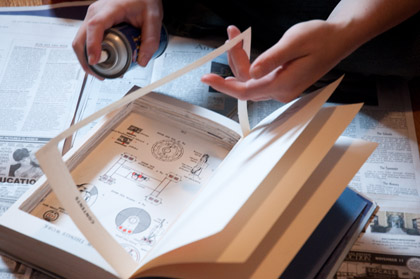
6) Take out the craft glue. Go to be responsible and spread newspaper on your fire escape, only to discover that it’s raining. Make a face. Spread out newspaper inside instead and, for heaven’s sake, open a window. Put the book on the newspaper and put another big piece of newspaper between the back cover and the endpaper; otherwise, you’ll get glue on the edges of the cover.
7) Holding the can a bit farther away than I am in the photo, spray while slowly flipping the pages. Move the can around to get all the edges and corners. If you’ve ripped any of the paper, now’s the time to make sure that it lines up with and sticks to its neighbors. Do not spray the top of the first page, or it’ll stick to the endpaper! When you’ve gotten all the pages, give an extra spray to the inside of the the well.
8) Press the jewelry box piece(s) in.
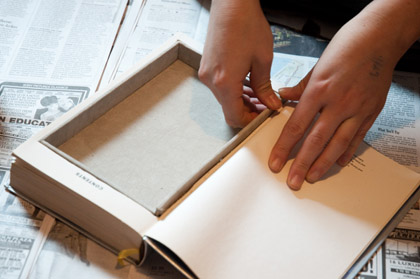
9) Stack something heavy on top, like those two other enormous books you have sitting around. To celebrate, go breathe somewhere far away from craft glue.
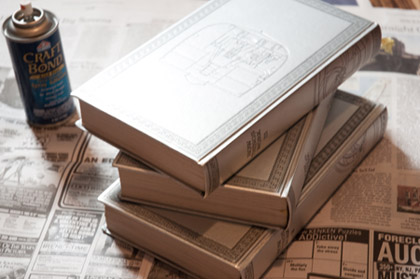
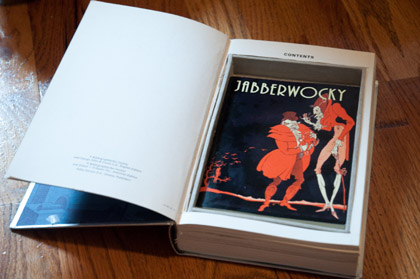
When it’s dry, voilà! You can hide a book inside your book…
…or your other treasures.
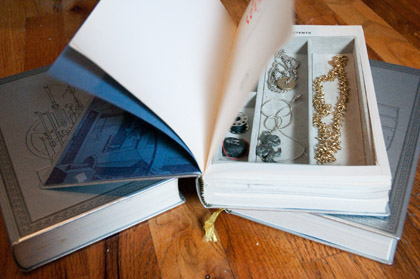
There is obviously a bit of a gravity problem here, as in, if I want to keep my jewelry in order, I can’t really tip the book up to shelve it vertically. I was thinking about using some of the smaller drawers from Pink Fuzzy o’ Doom and setting them in a very thick book so that they’d be horizontal when the book is vertical. Bible jewelry box, maybe? It does please my sense of irony.
Many thanks to Ellen Wright, who braved a rainy Saturday afternoon and a herd of wild kittens to come over and take pictures!
Megan Messinger is a production assistant at Tor.com, and she is a little weirded out by all these pictures of her hands.


